This post may contain affiliate links for products I love and recommend.
After hours and hours of my kids wheeling it around and seeing how fast it could spin, my old office chair was starting to break down. I loved the overall look of it and how it complimented my office decor (See the original office chair DIY HERE) but once it started to scratch my wood floors, it was time to say goodbye.
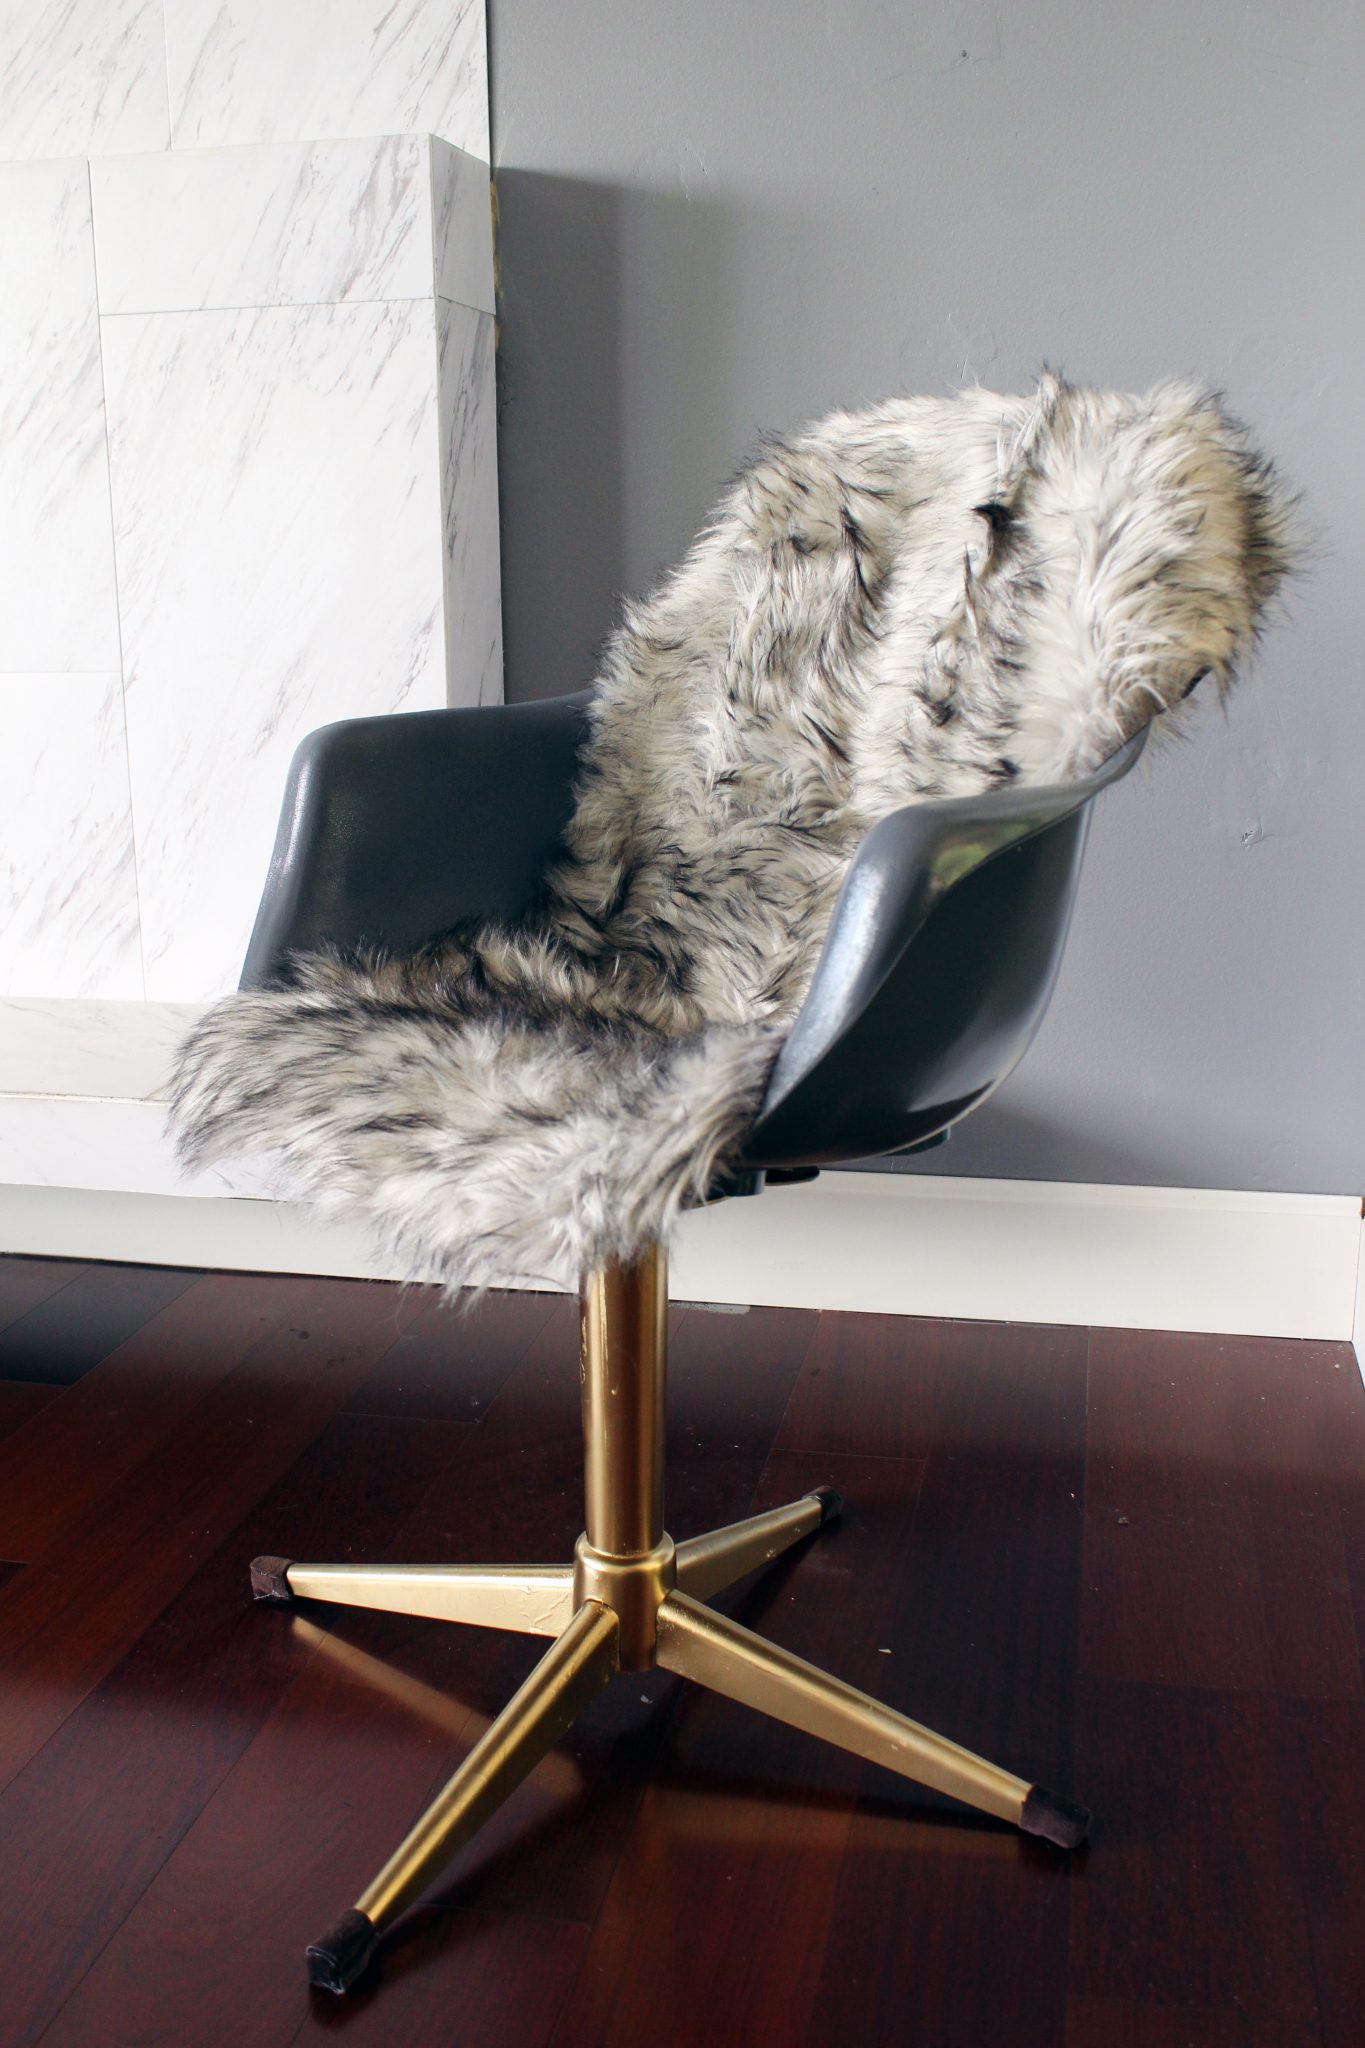
This leads us to today’s project: an absolutely gorgeous, DIY midcentury chair makeover that looks awesome almost anywhere you put it!
When company comes over and my living room couch gets crammed, I’ll pull this chair up next to my marble fireplace (DIY HERE) and it makes the perfect little accent chair. On our regular day-to-days, I’ll have it next to my office desk (which is also a DIY that you can find HERE.)
I found this chair in the classifieds for $15 and when Jon showed up to pick it up, it was in worse shape than we thought. The bottom actually had a small crack in the plastic that we would have to deal with, the bottom was completely rusted and partially painted, and it even had black widow nests in the bottom of the legs. Seriously guys, the photo does not do the condition of this chair justice! I tried scrubbing it to clean the white top, but it was just too dirty and weathered that it would never be the same again.

Now it fits our decor beautifully and is one of our most versatile pieces of furniture. It feels extra-rewarding to bring new life to a junky, discarded item. Plus, the money-saving aspect makes my husband very happy. haha!

Supplies:
- A junky chair to makeover
- Rust-Oleum Painter’s Touch Spray Paint in Dark Gray
- Rust-Oleum Metallic Spray Paint In Warm Gold
- Fine Grit Sandpaper
- 1/2 Yard Faux Fur Fabric – I used this one
The DIY Midcentury Chair Makeover:
I started out by separating the top from the bottom of the chair. I did this for two reasons: 1. Needing to sand and paint the bottom a different color from the top. 2. Since there were spider nests in the bottom, I wanted to bleach the entire thing and every nook and cranny before I moved on.

The bottom had rust, missing rubber caps on the chair legs, and a sloppy, dripping paint job in parts of the chair. To fix all of those problems and get the new spray paint to adhere better to it, I used a fine grit sandpaper to smooth the rough edges and dripping paint. Be sure to wipe the legs down again before painting so the paint doesn’t get a funky texture.

Next it was time to paint! I love how a fresh coat of paint can completely transform something. This sad little chair certainly was no exception. To get an even look, I used three light coats of this spray paint and made sure it was completely dry before applying the next coat.

After both pieces of the chair were scrubbed, sanded and painted, it was time to put them back together.

One of the last problems with the chair I addressed was the missing rubber leg covers. Since the entire reason I was replacing my old office chair was to protect my wood floors, it wouldn’t make sense to bring in a chair that would scratch them up even worse. Luckily, to fix them wasn’t a big problem. If you happen to run into the same problem as me, here’s the supplies you’ll need:
- Hot Glue Gun
- 1/4 Yard of Thick Suede Upholstery Fabric
- Fabric Scissors
How To Re-Cover Rough Chair Legs:
- Start out by cutting your suede into four separate, 3″ squares
- Cut 4 slices into your square as shown in Step #1
- Place the end of your chair leg at the center of your square.
- Use a hot glue gun to adhere the middle sections around the front and back of the chair leg.
- Apply more hot glue to one side of your suede square and wrap it around the sides of your chair leg.
- Repeat on the opposite side.

Lastly, cut a small piece of faux fur to lay over the top of your chair. For my chair, it was just a 20″ wide strip of fabric that was long enough to be draped over the top.

Ta da! Now you have a beautiful refinished, DIY midcentury chair that won’t scratch the floor and matches whatever other modern decor you’ve got.
I hope you guys really liked this little DIY midcentury chair makeover. If you have any questions at all, please don;t hesitate to ask in
the comments below!

Other Home DIY Posts You Might Like:
- DIY STATEMENT DAHLIA PAPER WREATH
- DIY FAUX FUR OFFICE CHAIR
- GOLD & MARBLE DIY OFFICE DESK
- MAKE YOUR OWN DIY DINING TABLE
Mid-Century Accent Chair Picks from Amazon:
- Midcentury Modern Barrel Chair
- Mid-Century Velvet Accent Chair
- Summer Chair in Charcoal Fabric and Walnut Wood Finish


