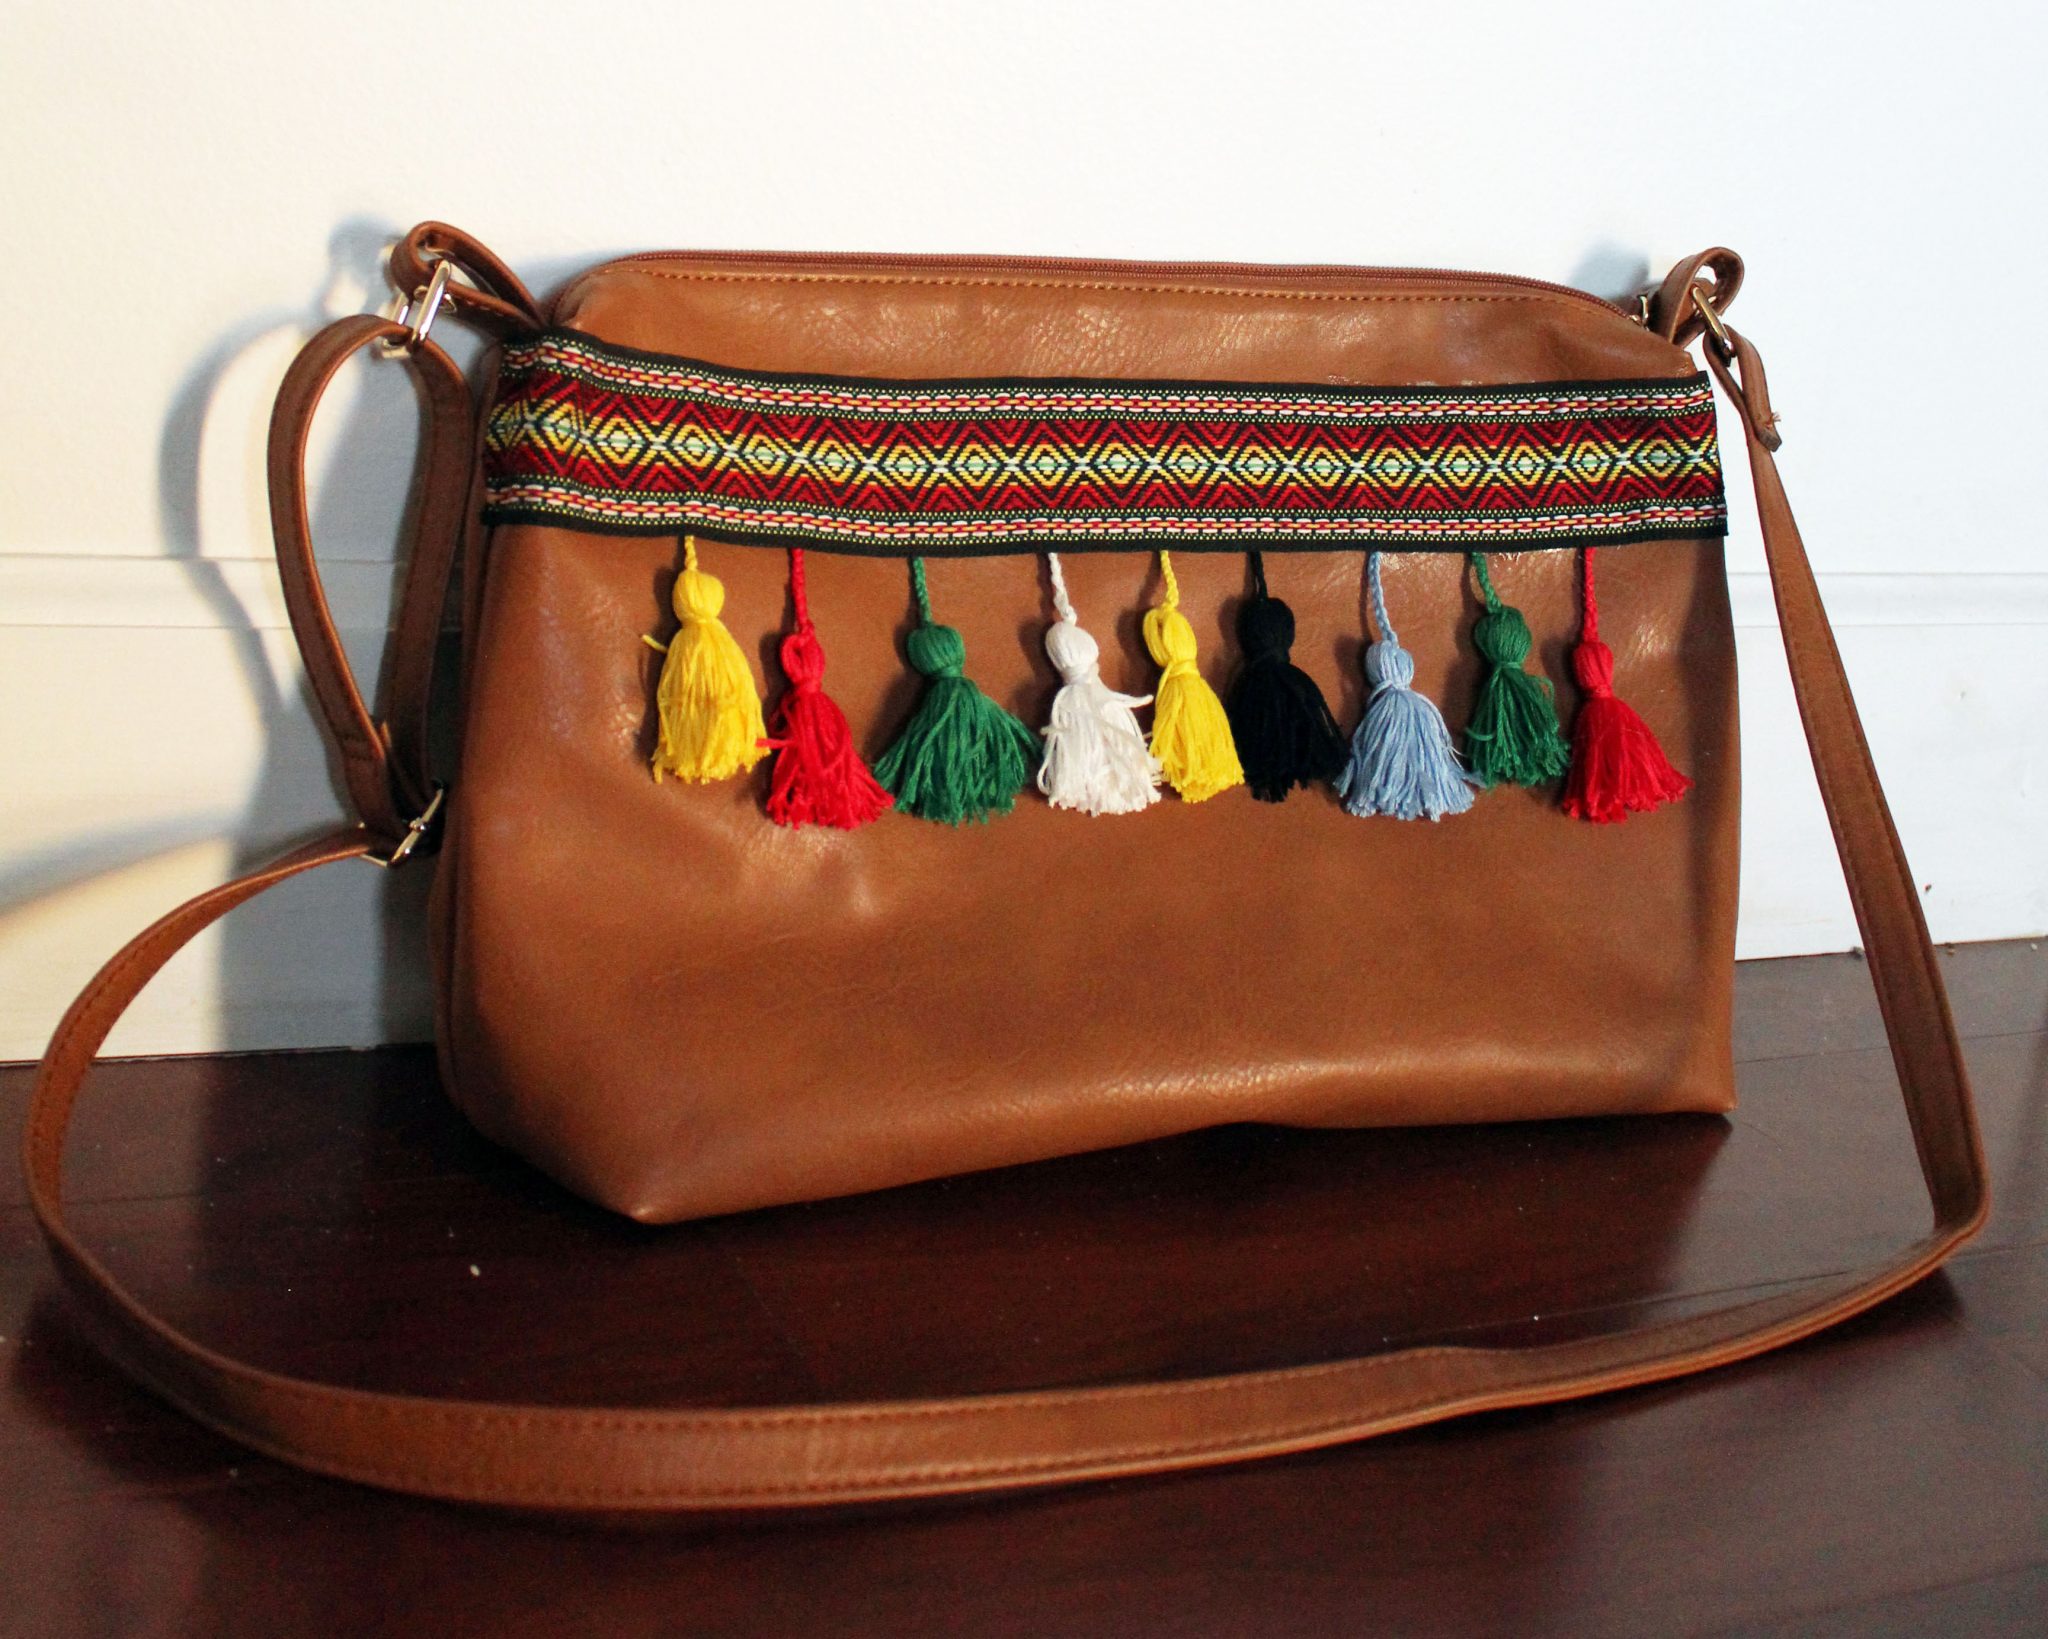
As the weather changes, I always tend to go in a more bohemian direction with my accessories. This boring leather crossbody bag in particular was in need of an update. With a little creativity and about an hour of time, it’s now my favorite bitty boho bag that will be ready to take on the rest of the year!
The term “boho” we use here is derived from the word “bohemian,” which refers to a ‘free-spirited, unconventional lifestyle’.
What is a boho bag?
The best boho bags (or hippie bag) are typically characterized by their relaxed and decorative design, often incorporating vibrant colors, unique patterns, and different embellishments! They are often made from natural fibers such as cotton, linen, leather or jute, and usually have embellishments like embroidery, fringe, tassels, beads, or shells. You can find folk style bags in this style in many places around the world like the Dominican Republic, the Cayman Islands, New Zealand, Costa Rica and el Salvador.
Boho purses and bags can come in various forms, including tote bags, fanny pack style, crossbody bag, shoulder bag, crochet bags, or slouchy hobo bags. The straps or handles of boho bags are often long and comfortable, allowing for easy wear and a casual, carefree look. They are popular for their laid-back and artistic vibe, making them a versatile choice for free spirits. They are best used for casual outings, as a festival bag, beach trips, cosmetic bags, or everyday use. Sounds like the perfect accessory right? Who needs a Louis Vuitton when you can have all that? So let’s get to making our own boho tassel bags!
This tutorial is really so simple, I almost feel silly creating a tutorial for it! Before I started this project, I had already pre-made the tassels via my tutorial from last month HERE. Each tassel was so simple to make from embroidery thread. You could realistically complete them in less time than it takes to drive to a craft store and buy them. Plus, this is a no-sew tutorial, so you don’t even need a sewing machine!
Supplies:
My supply lists are shoppable for your convenience! Get everything you need to complete this project by clicking on any link below without adding extra errands to your day.
- A plain purse
- Dressmaker Shears
- Embellishments (or an old belt) you like
- Coordinating Tassels (tutorial found HERE)
- E6000 Glue

Just in case you don’t have a plain purse on hand to makeover, here are a few great options for less than $15:
How To Make A Boho Bag:
What makes this project so fun is your ability to jump right into the creative part! Play with your embellishments and see where you want them, how far apart you’d like your tassels etc. right away. Then, cut your basic embellishment strip to fit lengthwise across the front of the bag.
Tip: Use a match to slightly burn the edges of your embellishment after it’s cut to size. This prevents it from fraying and saves you time because you won’t need to hem.

Once your embellishment is cut to the correct size, lay a thin layer of E6000 to secure it in the right place. Use binder clips to secure your fabric until the glue dries. When I’m shopping for supplies, I like to get the smaller sized E6000 glue rather than the full size bottles. It tends to make less of a mess and I never have the hassle of re-opening the bottle when I want to use it again and the cap is glued on.
Tip: If your bag is extra smooth, sand the areas you’ll be gluing lightly to make a more porous surface. This way, your glue will stick better.


Last Step:
Once the basic embellishment strip is glued on, gently slide your tassels in place, making sure they are securely fastened in the glue. Let dry for several hours before removing your binder clips.

Ta da! You now have new festive, bohemian bags that’s ready for whatever comes your way!
One of the very first places I brought this bag was on a vacation to Mexico. It was absolutely perfect! I loved how the zipper closed all the way across the top to keep my things secure, the strap was long enough to wear across my chest so it never fell off, and I legitimately received so many compliments on it!
For me, that’s the best part about making things yourself. I absolutely love creating something that I’m proud of, it totally unique, and makes me feel just a little bit better when I’m wearing it.
Other Projects To Try:


Pictures For Pinterest:


